How to Import MSG to Exchange Without Losing Email Data?


Do you want to import MSG to Exchange Server? This guide will help you with the process. Microsoft Outlook creates MSG files, which are email files that keep complete email like attachments, formatting, sender details and other information. However, moving files to an Exchange Server is not a direct process and needs an appropriate method to make sure a smooth and accurate migration.
In this article, you’ll learn what users import MSG to Exchange, discuss the available manual methods and its limitations followed by the introduction of a professional solution to simplify the entire process. By the end, you will be able to migrate MSG to Exchange with the complete process safely and without any difficulty.
Why do users migrate MSG to Exchange?
- Users import MSG files to Exchange to keep all email in one place as this makes it easy to handle and find.
- Exchange helps organizations store emails safely to meet legal and compliance needs if users move MSG files to the Exchange server.
- It allows multiple users to access & manage emails, which makes team collaboration smooth.
- Exchange server keeps your emails safe with built-in backup. It helps users restore important data if it is lost.
- Exchange makes it easy to organize, handle and search large numbers of MSG files.
Manual Methods to Import MSG to Exchange
For a small number of MSG files, manual methods are enough. Users do not need extra tools just use Outlook’s built-in options to import MSG files to Exchange.
1st Method: Drag-and-Drop Using Outlook
This is the easiest way to move a small number of MSG files. Users simply drag and drop to transfer MSG to Exchange.
- Simply, open Outlook and Exchange accounts must be added and completely synced.
- Users need to create a new folder in Outlook to keep imported messages.
- Launch File Explorer and go to the folder containing your MSG files.
- Choose the MSG files to upload and use Ctrl + Click to select multiple files
- Drag selected MSG files into the new Outlook folder.
- Allow the sync to complete, then check that all your emails are available in your Exchange folder.
2nd Method: Right-Click and import MSG to Exchange
Note: To use this method, you need to create a folder inside the Exchange account if required. Otherwise, you can directly choose the exact folder of the Exchange account to migrate MSG to Exchange
- Firstly, open the folder on your computer where the MSG file is stored
- Now, right-click the MSG file, select Open with & choose Outlook (Classic) to open the email.
- In Outlook, go to the Home tab and click Move from the ribbon.
- Click Copy to Folder from the drop-down menu to copy the email to another folder.
- Select the folder you want in your Exchange mailbox and click OK.
- Finally, allow Outlook to finish syncing, then check that the email appears in the selected Exchange folder.
Limitations of Manual Methods
- Manual methods are only suitable for small migrations, but not for large numbers of MSG files.
- Manual methods need a lot of effort and do not support batch processing or scheduled migration.
- Manual drag-and-drop process can cause errors like wrong placement, missing files or data loss.
- Handling MSG files in multiple folders is difficult and can easily lead to errors with no automation while you do import MSG to Exchange.
- Outlook or connection issues can cause import failures without showing clear error messages.
Professional Way to Migrate MSG Files to Exchange Server
These manual methods are free to use and suitable for occasional use. Users looking for a quick solution can opt for MSG to Exchange Migration Tool, it is dedicated that will simplify the entire process. It is tested by IT experts to ensure reliable and consistent performance. It allows users to complete the process more smoothly and efficiently.
How to import MSG files to Exchange Easily? (Step-by-Step)
Mentioned below is the easy step guide to import MSG to Exchange Server:
- Simply, Install & run MSG to Exchange Migration Tool.
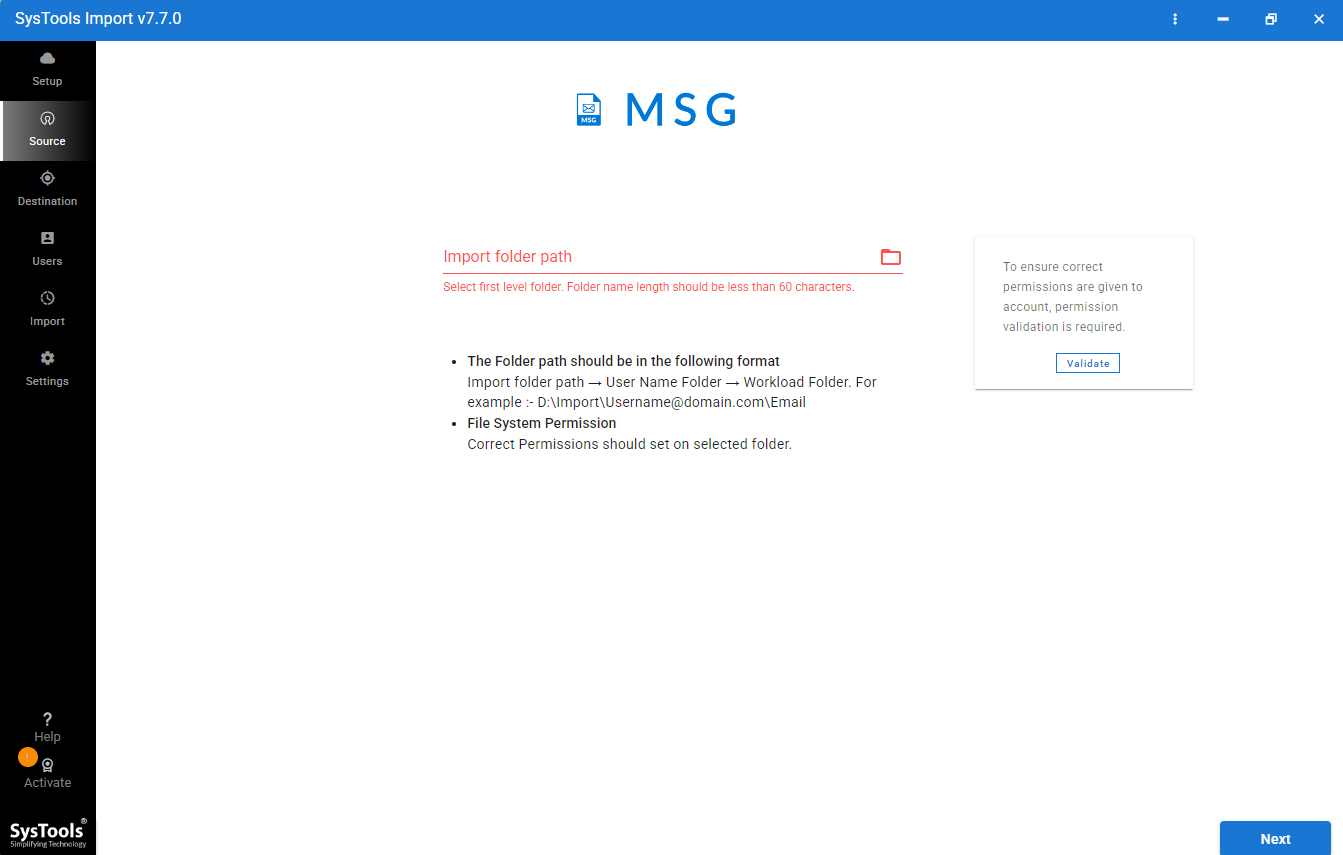
- Click MSG from source platform options & select MSG file and validate it.
- Enter Exchange credentials & validate them.
- Finally, Click the import button to start the migration process.
Top Features of Professional Migration Tool
Here are the best main features of the above-suggested migration tool:
- Support Bulk Import: Software allows users to import emails from multiple user mailboxes in a single run. It saves overall migration time and effort.
- Numerous Mailbox Migration: It can migrate various user mailboxes at same time instead of waiting for one migration to complete.
- Advance Date Range Option: Users can define a date range to migrate selected emails while excluding the rest of the mailbox when you transfer msg to Exchange.
- Support Batch Conversion: Users can import many MSG files at once instead of adding files one by one. It saves time & effort.
- Direct Migration: Users can move emails directly to correct Google Workspace user accounts without any extra conversion steps.
Conclusion
Users who have few files to import MSG to Exchange can go for a manual method. However, when users are required to migrate a large number of MSG files, using a manual method can be frustrating as it is a time-taking process and there is a high risk. A professional migration tool makes the process easier as it keeps your emails, attachments, metadata and folder structure in their original form. It will simplify the entire task with no data loss by using a trusted professional migration tool.